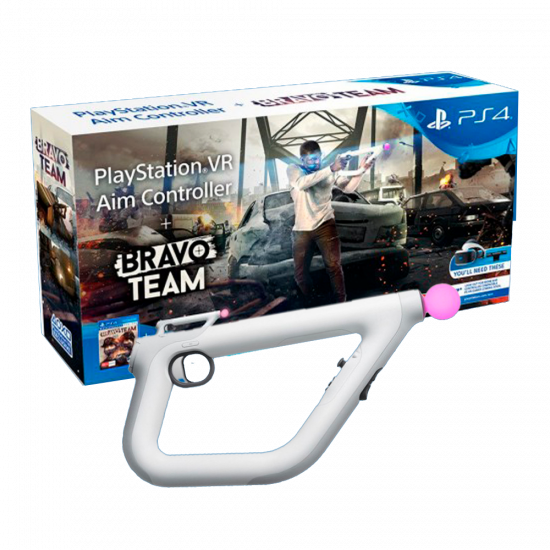
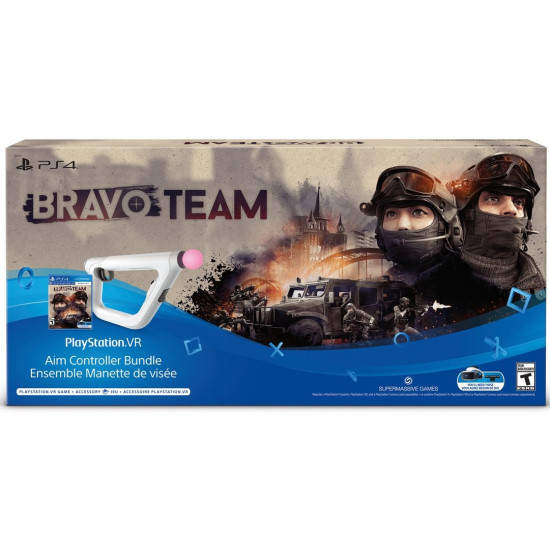
Aim Controller PS VR - Bravo Team Bundle


Description
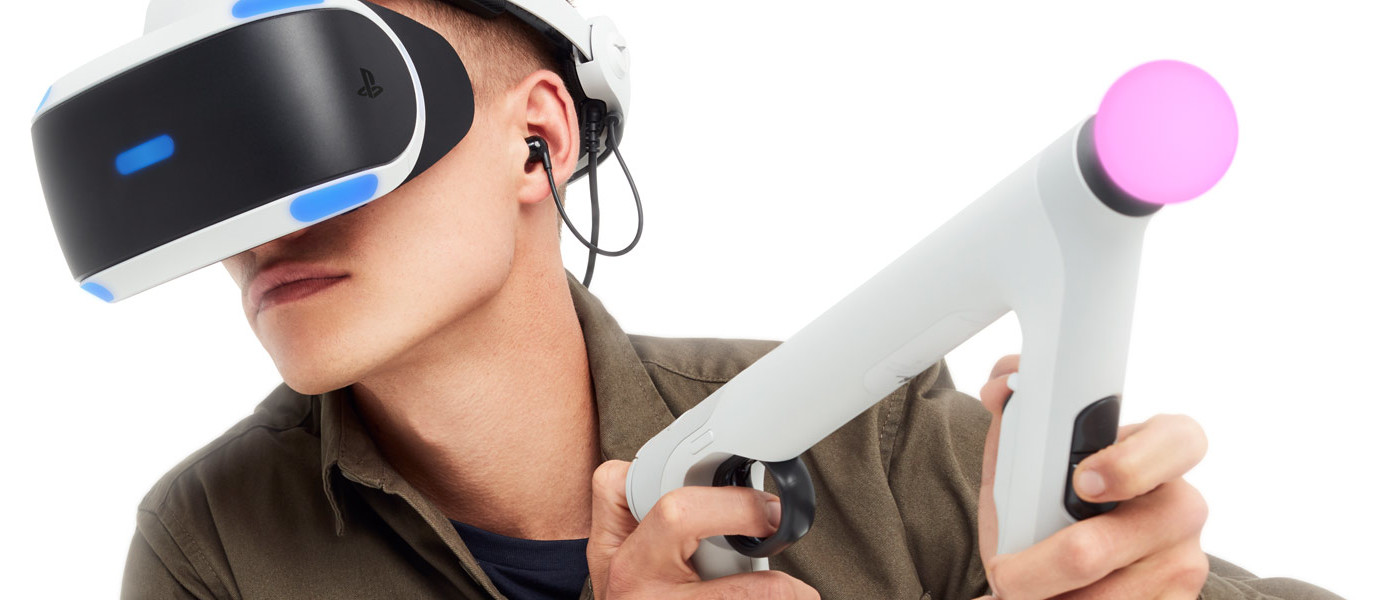
PlayStation VR Aim Controller
Key Features | PlayStation VR
Bravo Team | PSVR Review

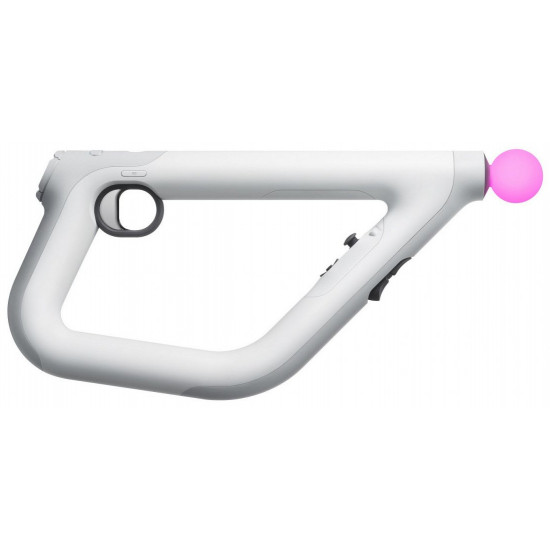
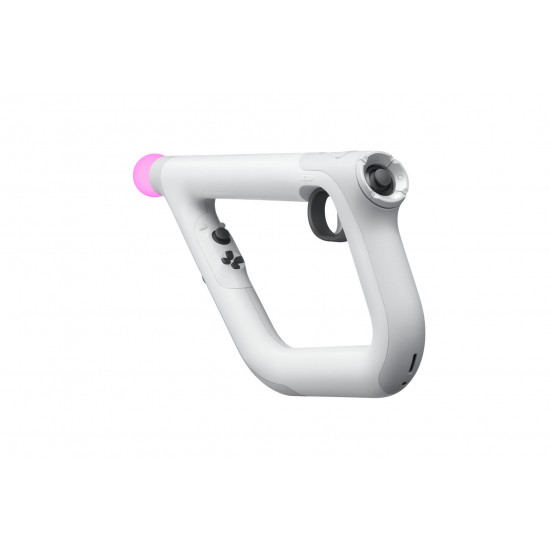
PS VR aim controller
Accessories : Controller, Headset & PlayStation Camera
Button Configuration

Basic Operations
Power
Press the PS button to turn on your controller. Your controller will turn off automatically when it’s not in use
Controls
The PS VR aim controller duplicates nearly all of the controls and functionality of a DualShock®4 wireless controller.
Play Area
Limit your use of your controller and PS VR to within the Play Area. The height of the Play Area depends on the range captured by the PlayStation®Camera (sold separately).
Tracking
The PlayStation Camera tracks the sphere on your controller for PS VR gameplay. Make sure the sphere is visible to the camera when playing.
Recommended grip
Use both hands to grip the controller. Typical right-handed grip shown. Reverse of this grip will also work for left-handers.

*Click only; other touchpad functions are not available.
**The PS VR aim controller has two R1 buttons, one on either side above the R2 button trigger. This enables you to use the PS VR aim controller with either a left-handed or right-handed grip, depending on your preference.
How to pair the Aim Controller
The PS VR aim controller is a Bluetooth® device. You’ll need to pair your controller when you use it for the first time and when you use it with another PS4™ system.
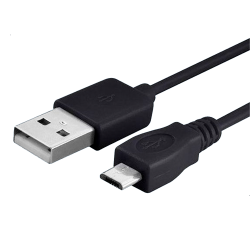
With your PS4 system on, connect your controller using a micro USB cable*, then press the 2 (PS) button. Your controller pairs with the system and turns on. After you’ve paired your controller, you can disconnect the micro USB cable and use your controller wirelessly.
*The PS VR aim controller is not supplied with a micro-USB. Use the micro-USB cable for your DualShock 4 wireless controller.
How to charge the Aim Controller
Make sure your controller is charged and ready to go before you start playing. With your PS4 system either on or in rest mode, connect your controller to your system using a micro USB cable.
To charge your controller while your system is in rest mode, select an option other than [Off] in [Settings] > [Power Save Settings] > [Set Features Available in Rest Mode] > [Supply Power to USB Ports].
The sphere slowly flashes orange when charging, and stops flashing when charging is complete.
You can find out more about battery life in the PS VR aim controller manual.
Doesn't Work / Flashing Light / Won't Pair / Input Lag
If your controller won't pair (the light will flash if this is the problem), won't respond, or has input lag, please follow the instructions on how to reset the controller:
Turn off the PlayStation 4.
The PS VR aim controller is a Bluetooth device. This means that other Bluetooth devices might cause interference. Switch them off to minimize this.
Locate the small reset button on the bottom of the PSVR Aim near the L2 shoulder button.

Use a small, unfolded paper-clip or something similar to push the button (the button is inside a tiny hole). Hold the button down for five seconds and release.
After resetting the controller, re-pair it by connecting the micro USB cable to the controller and the system, and turn the PS4 on.
Press the PS button to log in to the PS4.
If pushing the PS button is not responsive, try another USB port on the console.
If problems persist, contact us [or find out if you can request a repair under warranty].
Charging Problems
If your controller doesn't seem to be charging it's likely due to one of the issues below:
Please plug in and charge the PS VR aim controller before first use.
Make sure you're using the micro-USB cable that was supplied with the PS4. Yeah, we know they all look the same, but sometimes other cables just don't work.
Check to see if the controller charges when the system is turned on. Plug the controller in and hit the PS button. In the lower left of the screen you should see PS VR aim controller and battery icons. If the controller's completely charged the battery icon will display three bars. If it's charging, but not fully charged it will cycle 0,1,2, and 3 bars.

The PS4 doesn't charge controllers when powered completely off; for it to charge you need to put the system in Rest mode. It would also be a good idea to make sure USB charging is enabled. To do this go to [Settings] > [Power Save Settings] > [Set Functions Available in Rest Mode] > [Supply Power to USB Ports] and choose [Always] or [3 hours].
If you choose [3 hours] this time runs from the point that the PS4 was placed in Rest Mode, so if you plug controllers in 4 hours later they won’t charge.
The light sphere slowly flashes orange when charging, and stops flashing when charging is complete.
If pushing the PS button doesn't work, try another USB port and a different cable on the console.
If problems persist, contact us.
Unresponsive Buttons / Triggers / Analog Sticks
If any of the controller's buttons, triggers, analog sticks aren't working properly, please contact PlayStation Support. Please keep in mind that proof-of-purchase is required for service under the PSVR Aim one-year manufacturer's warranty and accidental damage isn’t covered.
Camera has difficulty recognising PS VR aim controller movement
The PlayStation Camera tracks the light sphere on the end of the controller for PS VR gameplay. Make sure the sphere is visible to the camera at all times during gameplay.
